Post-workshop Review and Step-by-step Demo
Posted on: Mar 20, 2015
I am happy to report that my recent workshop at Susan Porges’ The Art Studio went beautifully. I couldn’t have asked for more – gracious hosts, a beautiful model, and friendly & talented attendees! And thanks to Susan’s iPhone photography, I can share some process shots from my demo painting. I hope they are useful to see.
Day 1 – Underpainting
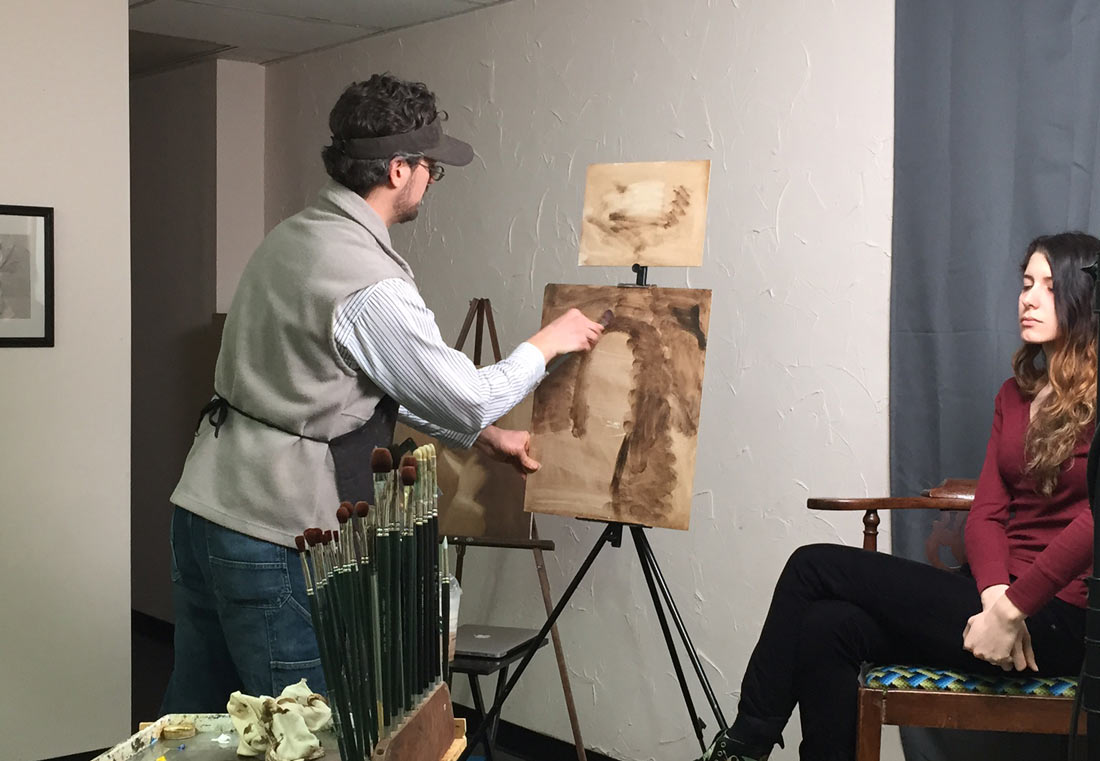
For the first day, we worked monochromatically, using only Raw Umber to establish a value pattern. The photo above was taken during the first pose of my demonstration. With simple compositions like a head-and-shoulders portrait, I rarely start with much drawing. In this case, after a few cursory outlines, I began massing in the sweep of the model’s hair, which was an easy shape to latch onto.
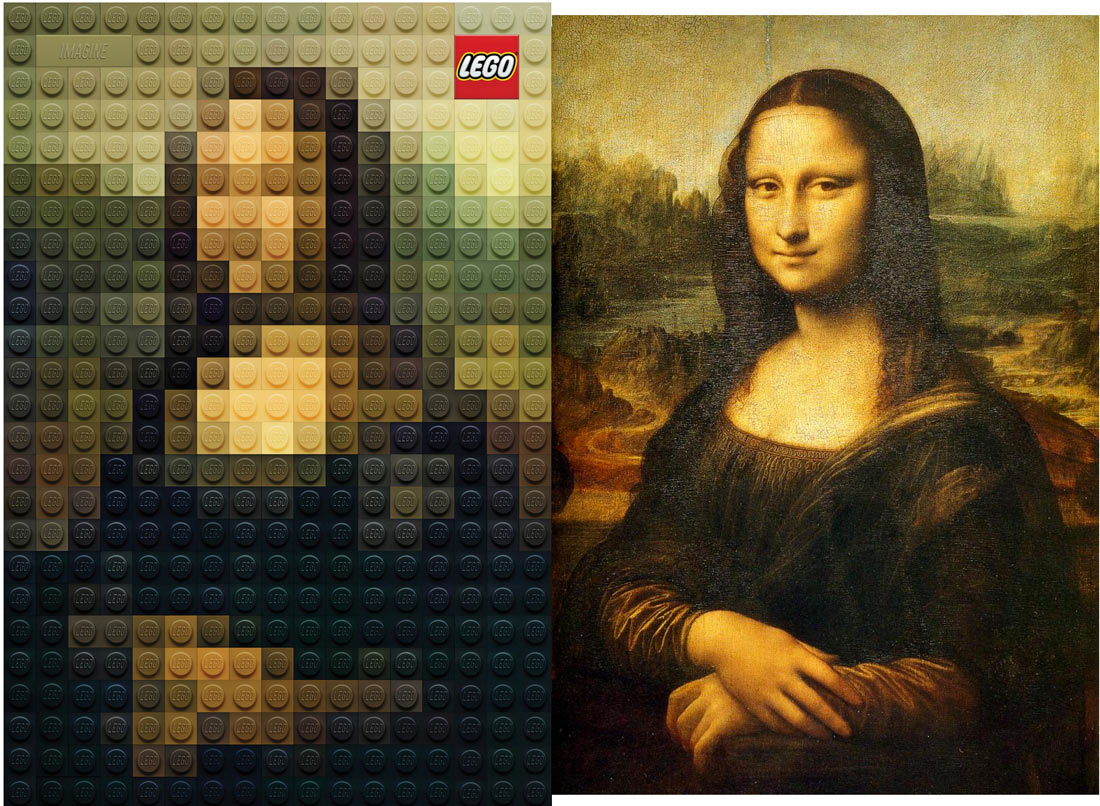
Throughout the workshop, I spoke a lot about learning to see and capture the overall value and color patterns in a given scene. This, more than anything else, will convey a convincing impression of light and form within a picture, as powerfully demonstrated by Marco Sodano’s Lego Mona Lisa above.
With this principle in mind, I gradually sculpted my featureless mannequin into the beginnings of an actual person over the subsequent poses:
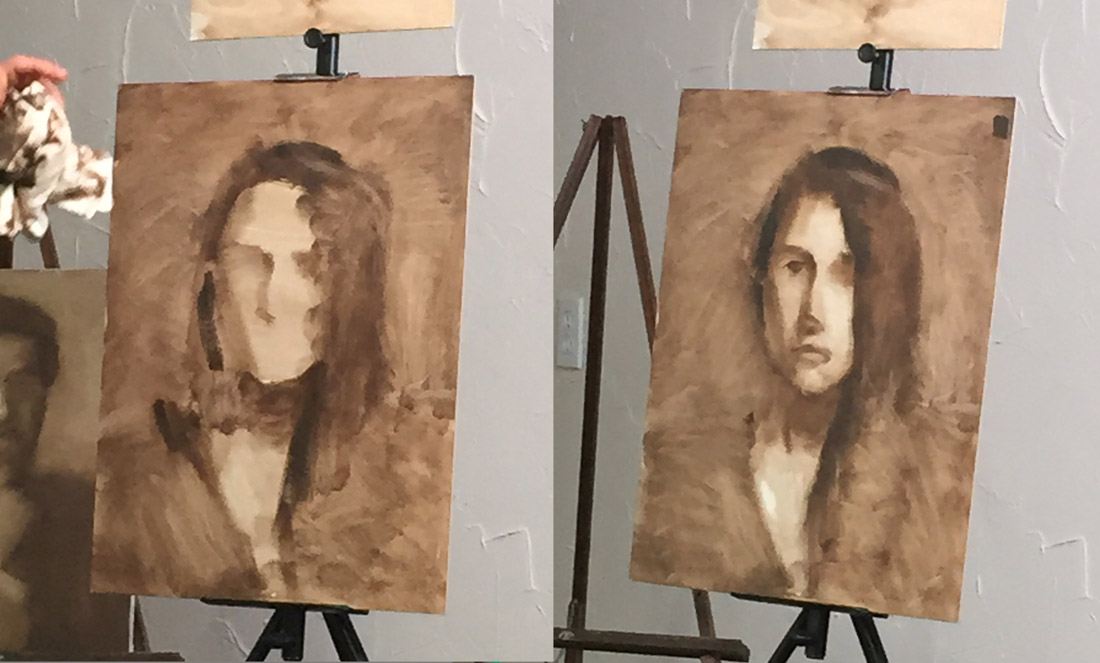
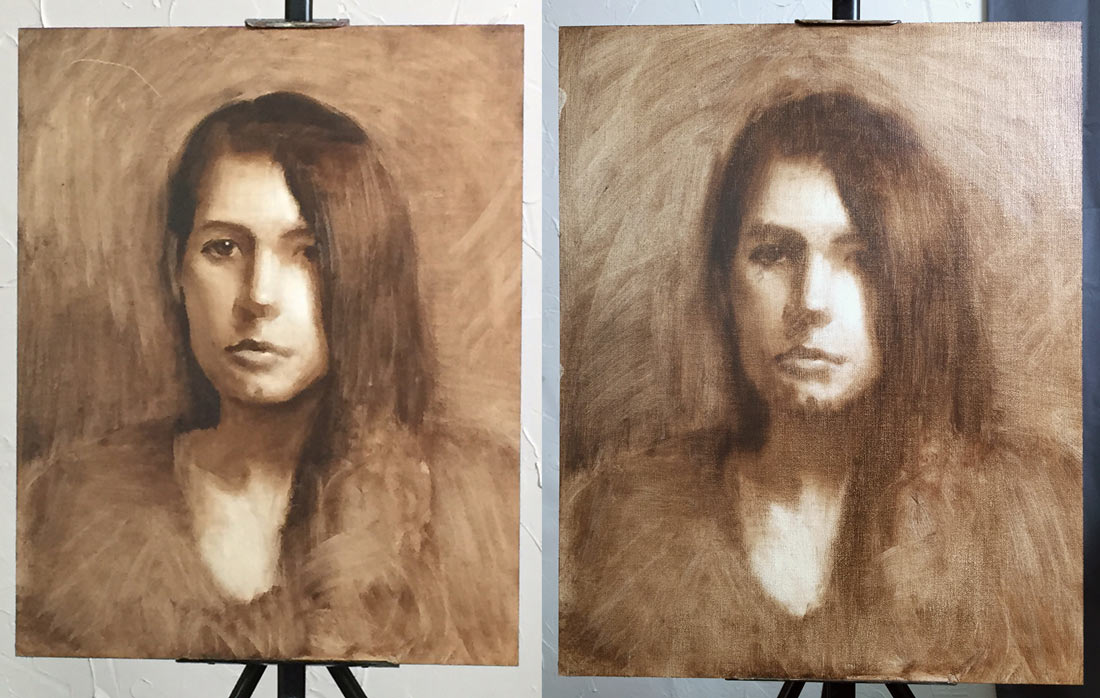
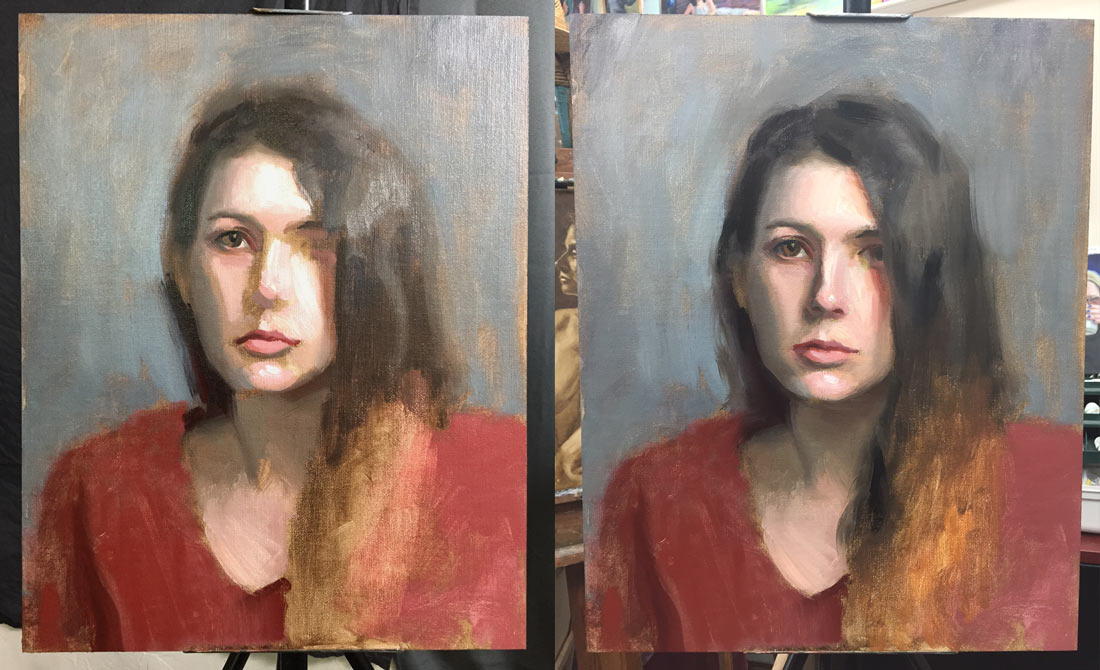
After about 2.5 hours of work, this was as far as I got. A “finished” umber painting would have taken several hours longer, but this was plenty resolved enough to use as an underpainting. Whenever I intend to work over an umber painting in color, I wipe down the underpainting before letting it dry … and this often improves the painting quite a bit! To me, the pre-wiped painting looks cartoonish (above left), while the wiped-down painting looks like a ghost-image of an actual, living person (above right).
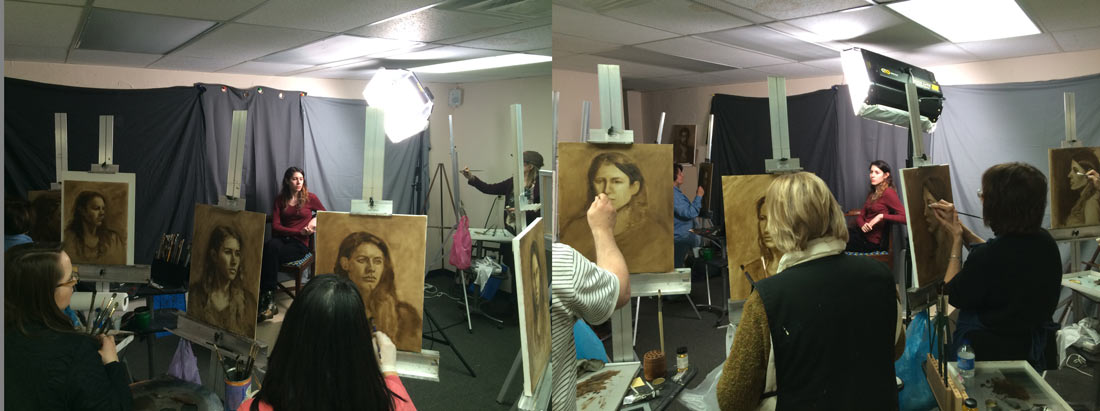
Then in the afternoon, it was the attendees’ turn to paint:
Day 2 – Color Block-in
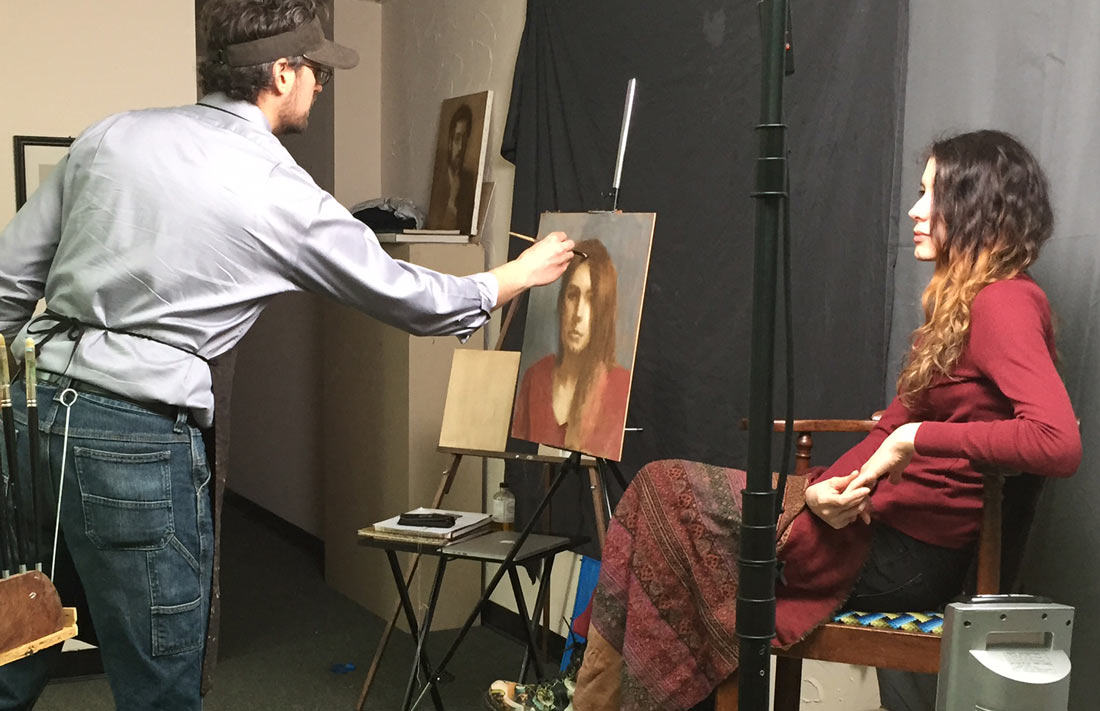
The goal of Day 2 was to establish an overall color pattern on top of our monochromatic underpaintings. I started by massing in the backdrop and the model’s clothing, since they were broader and easier shapes to indicate than the more delicate shapes and colors in her face.
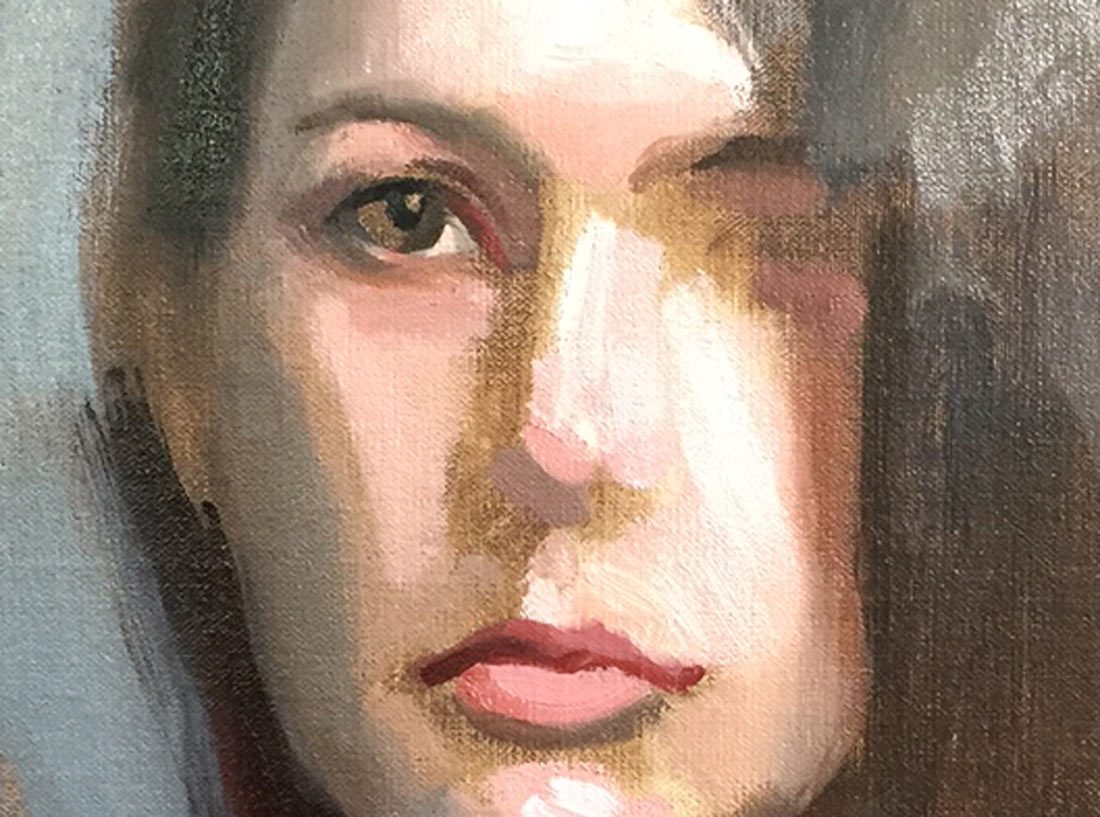
When I did move into the face, I tried to indicate the basic planes and color changes as simply and distinctly as possible, working in patches like a mosaic and letting the underpainting fill in the gaps. The following image is about two thirds into the session, and the model’s ear, major sections of both eyes, and most of the shadows around the nose and below the mouth are still just underpainting:
For the workshop, we were using a limited flesh palette that I learned from studying with Marvin Mattelson: White, Yellow Ochre, Venetian Red, Indian Red, Raw Umber, and Ivory Black. I find these earth colors mix to form beautiful skin tones, with no danger of going overboard into neon reds and yellows. And because the model wore red and the backdrop was gray, I got away with using only these colors for my entire painting.
The above right image is how I left my painting at the end of Day 2. All the important elements are in there … but the colors, values, and edges in the face are all too harsh.
In the afternoon, the attendees again put in their painting session, and then we all went out for a delicious, hard-earned dinner:

Day 3 – Finishing Touches
My work on Day 3 was much more subtle, and I worked more on the face than anything else. My photos don’t really track the progress in an intelligible way, so I will cut to the chase and simply post the finished painting:
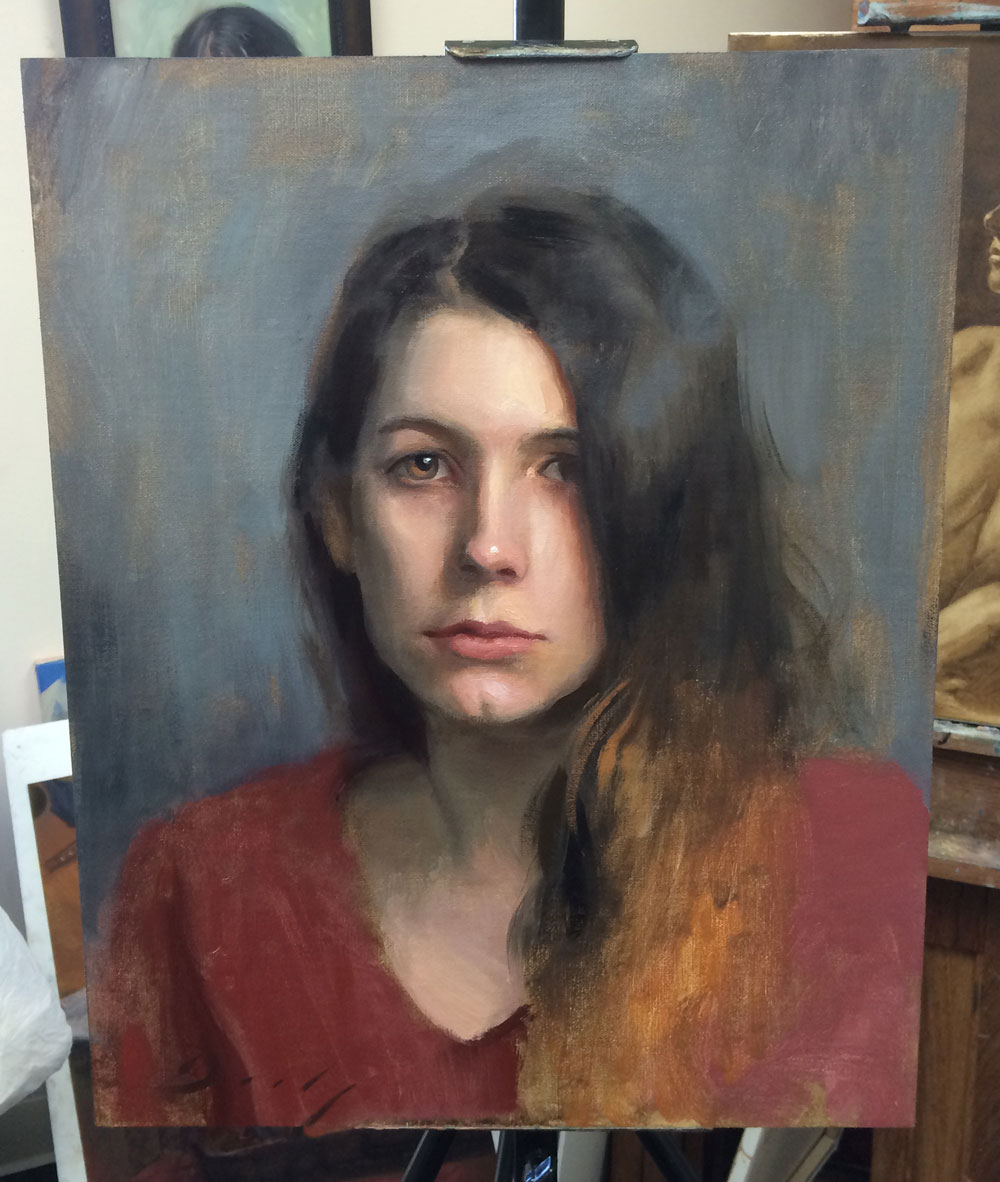
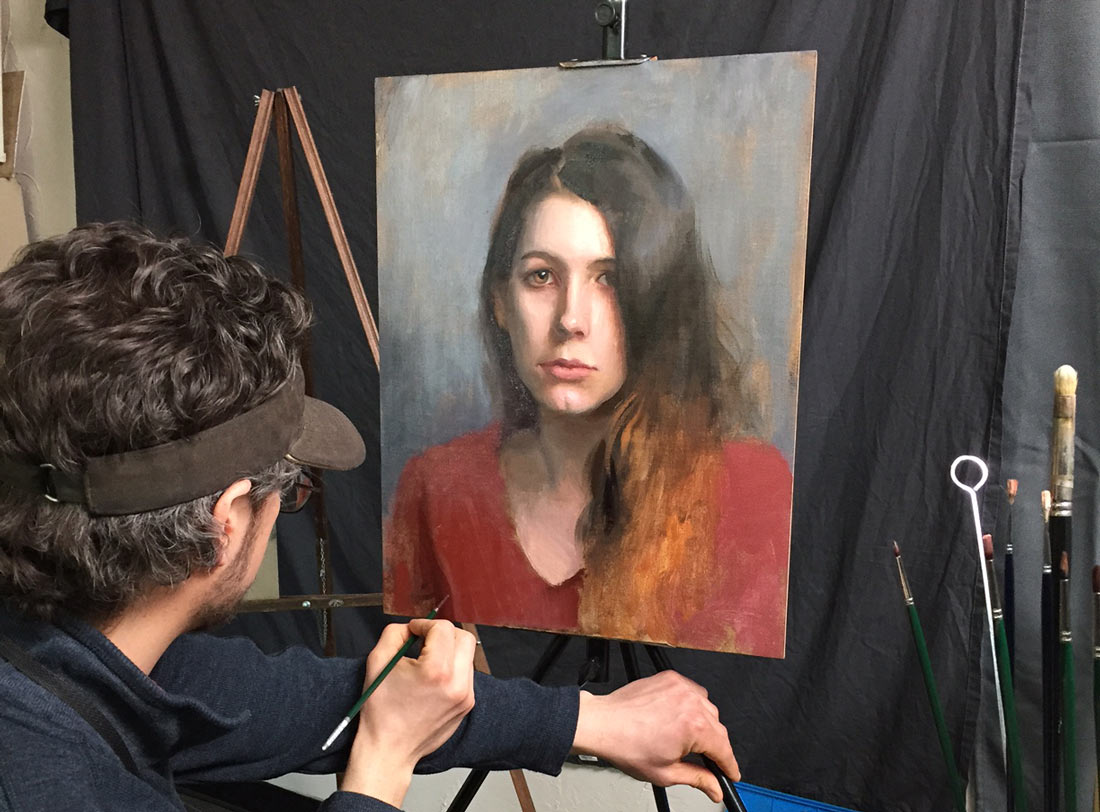
“Amelea” – 16” x 20” – oil on linen panel
This represents about 7.5 hours’ work. As with all demo pieces, I would have loved to have had more time … but I think I got just far enough to have made a complete statement, and I’m very pleased with the results.
![]()