Adventures in Construction 6: Bears on Roofs
Posted on: Aug 02, 2010

A little history: Last year, John built an Asian-style pagoda for our neighbor across the street, and together we turned the main rafter beams into dragon heads. It was a wonderful collaboration – which even ended up inspiring a painting – and we’ve been looking for a chance to repeat it ever since. Enter my mom’s house … carving out bear heads for the second-floor overhang has easily been the most enjoyable step in this building process. Here’s how it went:

1. The Template: After spending a long evening Googling countless variations of “bear head”, we gathered enough photo reference that I felt comfortable drawing a bear in profile. I sketched the outline out on a piece of plywood, and John cut it out so that we could trace my drawing onto the beams.

2. Sawing and Gluing: To make the beam ends large enough to fit the bear heads (and to give the roofline a flared lip), we needed to make each one out of two pieces of wood. First John carved out the lower jaw with a chainsaw, and then we glued the top piece on before he sawed out the rest of the profile. The eyes and ears were also drilled out shallowly. Here’s a bear after the rough-cut stage:


3. Routing and Sculpting: Sculpting the bears was another 2-step process. First John and I traced the curves of the bears’ fur with a router, which etched a hard outline into the beams. Then we used angle grinders to round off the bears’ forms, sand the noses smooth, and carve into the eyes. Renée came to visit us in in the middle of this step, and it was great to be able to give her a first-hand tour of our bear factory (and to see how pleased she was with them).

4. Staining: We ended up using four different stains to finish off the bears – dark brown for the fur, tan for the snout, ivory for the teeth, and black for the tips of the noses. Staining them was a bit of a shock for me, after having spent so much time with the natural wood color, but we’re all happy with the results.

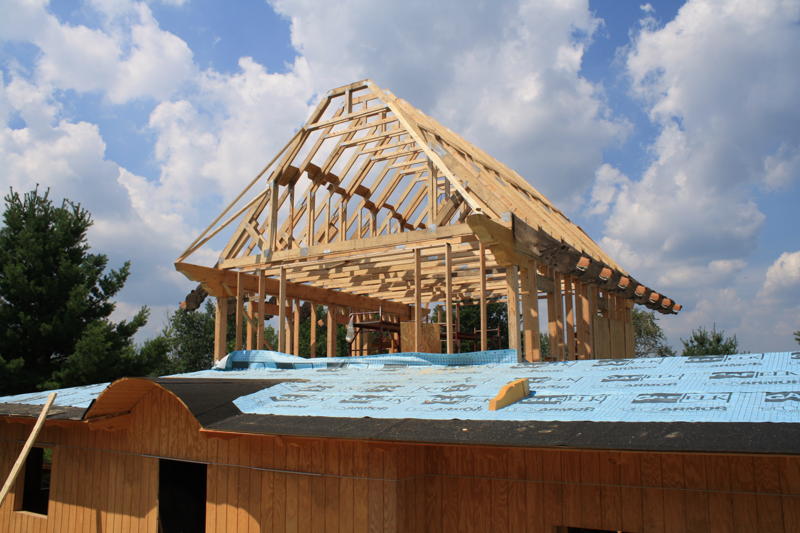
5. Hoisting them up: Actually putting the bears in place took quite an effort, but it wasn’t nearly as demanding as raising the trusses that they run off of! Each truss demanded three big lifts: up from the ground onto the lower roof, up onto the 2nd floor sill plate, and then raised vertically into place. Thankfully John’s employee Murray was able to work with us on the first couple of trusses, after which they became progressively easier … until the last one, which had to be hoisted in a vertical position from the outset, since there was hardly any sill plate left to rest it on.

The bears themselves were each sandwiched between two trusses, using liquid nails and a whole lot of timber screws. It’s a little strange posting pictures at this point, since the last set of bears and the roof itself will be such an integral part of the final effect. Tomorrow we’ll finish off the last bears for the end beams, which will be full beams running all the way up to the peak of the roof. Here’s a shot of our raw materials:

Until next time….
![]()